参考サイト
$ vagrant box add centos/7

==> box: Loading metadata for box 'centos/7'

box: URL: https://vagrantcloud.com/centos/7

This box can work with multiple providers! The providers that it

can work with are listed below. Please review the list and choose

the provider you will be working with.
[root@www ~]# certbot certonly --webroot -w /var/www/html -d www.tetsis.com
Saving debug log to /var/log/letsencrypt/letsencrypt.log
Plugins selected: Authenticator webroot, Installer None
Enter email address (used for urgent renewal and security notices) (Enter 'c' to
cancel): (連絡がとれるメールアドレス)
Starting new HTTPS connection (1): acme-v01.api.letsencrypt.org

-------------------------------------------------------------------------------
Please read the Terms of Service at
https://letsencrypt.org/documents/LE-SA-v1.1.1-August-1-2016.pdf. You must agree
in order to register with the ACME server at
https://acme-v01.api.letsencrypt.org/directory
-------------------------------------------------------------------------------
(A)gree/(C)ancel: A

-------------------------------------------------------------------------------
Would you be willing to share your email address with the Electronic Frontier
Foundation, a founding partner of the Let's Encrypt project and the non-profit
organization that develops Certbot? We'd like to send you email about EFF and
our work to encrypt the web, protect its users and defend digital rights.
-------------------------------------------------------------------------------
(Y)es/(N)o: Y
Starting new HTTPS connection (1): supporters.eff.org
Obtaining a new certificate
Performing the following challenges:
http-01 challenge for www.tetsis.com
Using the webroot path /var/www/html for all unmatched domains.
Waiting for verification...
Cleaning up challenges

IMPORTANT NOTES:
- Congratulations! Your certificate and chain have been saved at:
/etc/letsencrypt/live/www.tetsis.com/fullchain.pem
Your key file has been saved at:
/etc/letsencrypt/live/www.tetsis.com/privkey.pem
Your cert will expire on 2018-01-27. To obtain a new or tweaked
version of this certificate in the future, simply run certbot
again. To non-interactively renew *all* of your certificates, run
"certbot renew"
- Your account credentials have been saved in your Certbot
configuration directory at /etc/letsencrypt. You should make a
secure backup of this folder now. This configuration directory will
also contain certificates and private keys obtained by Certbot so
making regular backups of this folder is ideal.
- If you like Certbot, please consider supporting our work by:

Donating to ISRG / Let's Encrypt:   https://letsencrypt.org/donate
Donating to EFF:                    https://eff.org/donate-le
# SSLCACertificateFileかSSLCARevocationFileの下あたりに以下を追加
<Directory />
SSLRequireSSL
SSLVerifyClient require
SSLUserName SSL_CLIENT_S_DN_CN
Satisfy Any
Allow from All
SSLRequire %{SSL_CLIENT_S_DN_CN} in {"tetsis"} # 認証ユーザ。複数のユーザを設定するにはカンマ区切りで書く。
</Directory>
Apacheの再起動
# systemctl restart httpd
クライアント証明書の作成
# cd /etc/pki/tetsis-client
# openssl req -config openssl.cnf -new -days 3650 -keyout tetsis.key.pem -out tetsis.req.pem -days 3650 -extensions client_cert
Generating a 2048 bit RSA private key

writing new private key to 'tetsis.key.pem'
Enter PEM pass phrase:  # 秘密鍵のパスフレーズ入力
Verifying - Enter PEM pass phrase:  # 秘密鍵のパスフレーズ入力

Country Name (2 letter code) [JP]:
State or Province Name (full name) [Tokyo]:
Locality Name (eg, city) [Shinagawa-ku]:
Organization Name (eg, company) [tetsis company]:
Organizational Unit Name (eg, section) []:
Common Name (eg, your name or your server's hostname) []:tetsis  # 認証するユーザ名
Email Address []:

Please enter the following 'extra' attributes
to be sent with your certificate request
A challenge password []:
An optional company name []:
秘密鍵のパスフレーズ削除
# openssl rsa -in tetsis.key.pem -out tetsis.key.pem
Enter pass phrase for tetsis.key.pem:
writing RSA key
CSRにCA秘密鍵で署名
# openssl ca -config openssl.cnf -days 3650 -policy policy_anything -out tetsis.cert.pem -extensions client_cert -infiles tetsis.req.pem
Using configuration from openssl.cnf
Enter pass phrase for /etc/pki/tetsisCA/private/cakey.pem:  # パスフレーズ入力
Check that the request matches the signature
Signature ok

Certificate is to be certified until Oct  8 08:37:09 2028 GMT (3650 days)
Sign the certificate? [y/n]:y

1 out of 1 certificate requests certified, commit? [y/n]y
Write out database with 1 new entries
Data Base Updated
SSLEAY_CONFIG="-config /etc/pki/tetsisCA/openssl.cnf"  # 修正
if [ -z "$DAYS" ] ; then DAYS="-days 3650" ; fi # 10 year  # 修正
CADAYS="-days 3650" # 10 years  # 修正
REQ="$OPENSSL req $SSLEAY_CONFIG"
CA="$OPENSSL ca $SSLEAY_CONFIG"
VERIFY="$OPENSSL verify"
X509="$OPENSSL x509"
PKCS12="openssl pkcs12"

if [ -z "$CATOP" ] ; then CATOP=/etc/pki/tetsisCA ; fi  # 修正
vim tetsisCA/openssl.cnf
dir     = /etc/pki/tetsisCA     # Where everything is kept  # 修正
(中略)
[ req_distinguished_name ]
countryName         = Country Name (2 letter code)
countryName_default     = JP  # 修正
countryName_min         = 2
countryName_max         = 2

stateOrProvinceName     = State or Province Name (full name)
stateOrProvinceName_default = Tokyo  # 修正

localityName            = Locality Name (eg, city)
localityName_default        = Shinagawa-ku  # 修正

0.organizationName      = Organization Name (eg, company)
0.organizationName_default  = tetsis company  # 修正
(中略)
[ usr_cert ]
(中略)
# This is typical in keyUsage for a client certificate.
keyUsage = digitalSignature, keyEncipherment  # 修正

# This will be displayed in Netscape's comment listbox.
#nsComment          = "OpenSSL Generated Certificate"  # コメントアウト
(中略)
# This is required for TSA certificates.
extendedKeyUsage = serverAuth
(中略)
[ v3_ca ]
(中略)
# Key usage: this is typical for a CA certificate. However since it will
# prevent it being used as an test self-signed certificate it is best
# left out by default.
keyUsage = cRLSign, keyCertSign  # コメントアウト解除
CA証明書作成
# cd /etc/pki/tetsisCA
# ./CA -newca
CA certificate filename (or enter to create)  # エンター

Making CA certificate ...
Generating a 2048 bit RSA private key
........+++
...........................................+++
writing new private key to '/etc/pki/tetsisCA/private/./cakey.pem'
Enter PEM pass phrase:  # パスフレーズ入力
Verifying - Enter PEM pass phrase:  # パスフレーズ入力

Country Name (2 letter code) [JP]:
State or Province Name (full name) [Tokyo]:
Locality Name (eg, city) [Shinagawa-ku]:
Organization Name (eg, company) [tetsis company]:
Organizational Unit Name (eg, section) []:
Common Name (eg, your name or your server's hostname) []:tetsis CA
Email Address []:

Please enter the following 'extra' attributes
to be sent with your certificate request
A challenge password []:
An optional company name []:
Using configuration from /etc/pki/tetsisCA/openssl.cnf
Enter pass phrase for /etc/pki/tetsisCA/private/./cakey.pem:  # パスフレーズ入力
Check that the request matches the signature
Signature ok
(中略)
Write out database with 1 new entries
Data Base Updated
CA証明書: cacert.pem
CA秘密鍵: private/cakey.pem
証明書失効リスト作成
# openssl ca -config openssl.cnf -gencrl -out crl.pem
Using configuration from openssl.cnf
Enter pass phrase for /etc/pki/tetsisCA/private/cakey.pem: # パスフレーズ入力
サーバ証明書作成
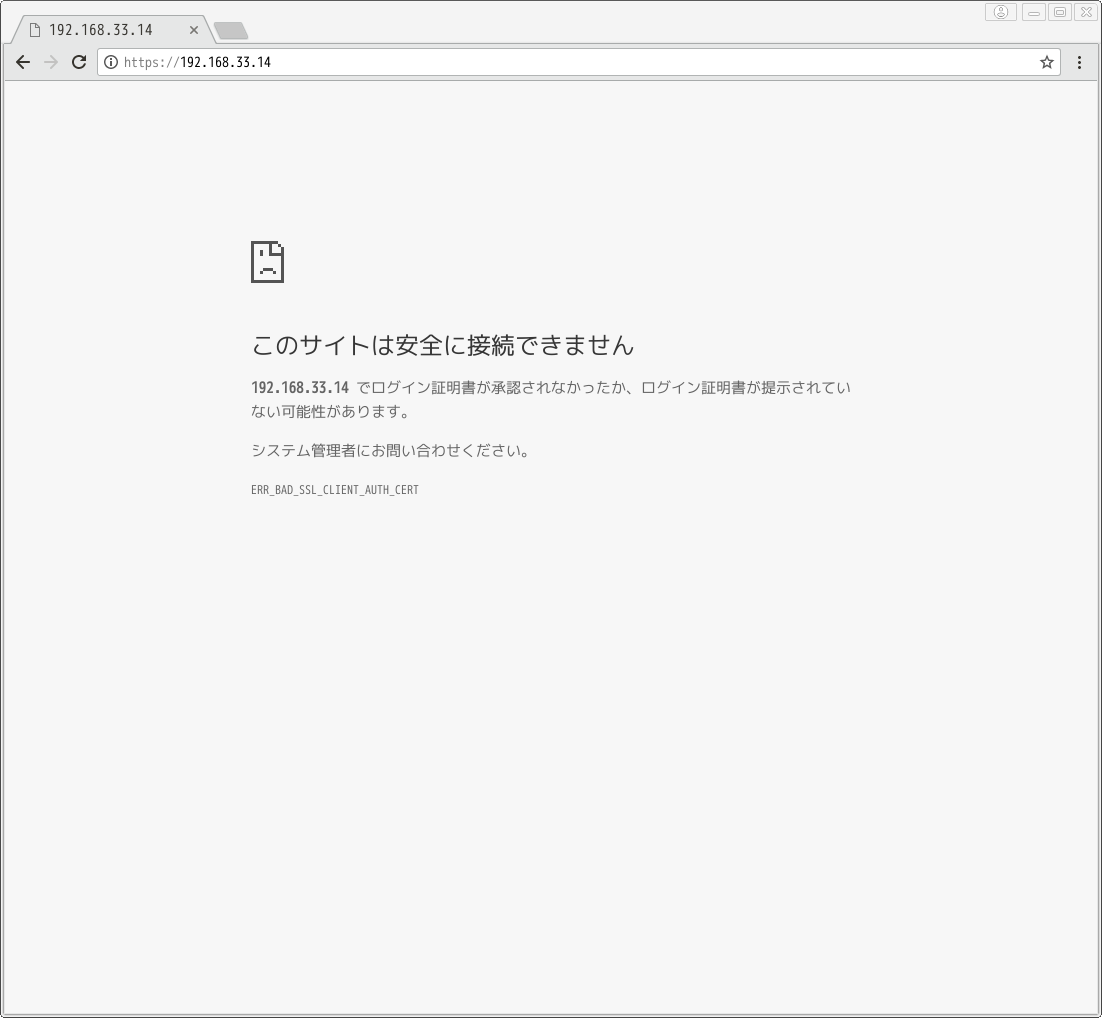
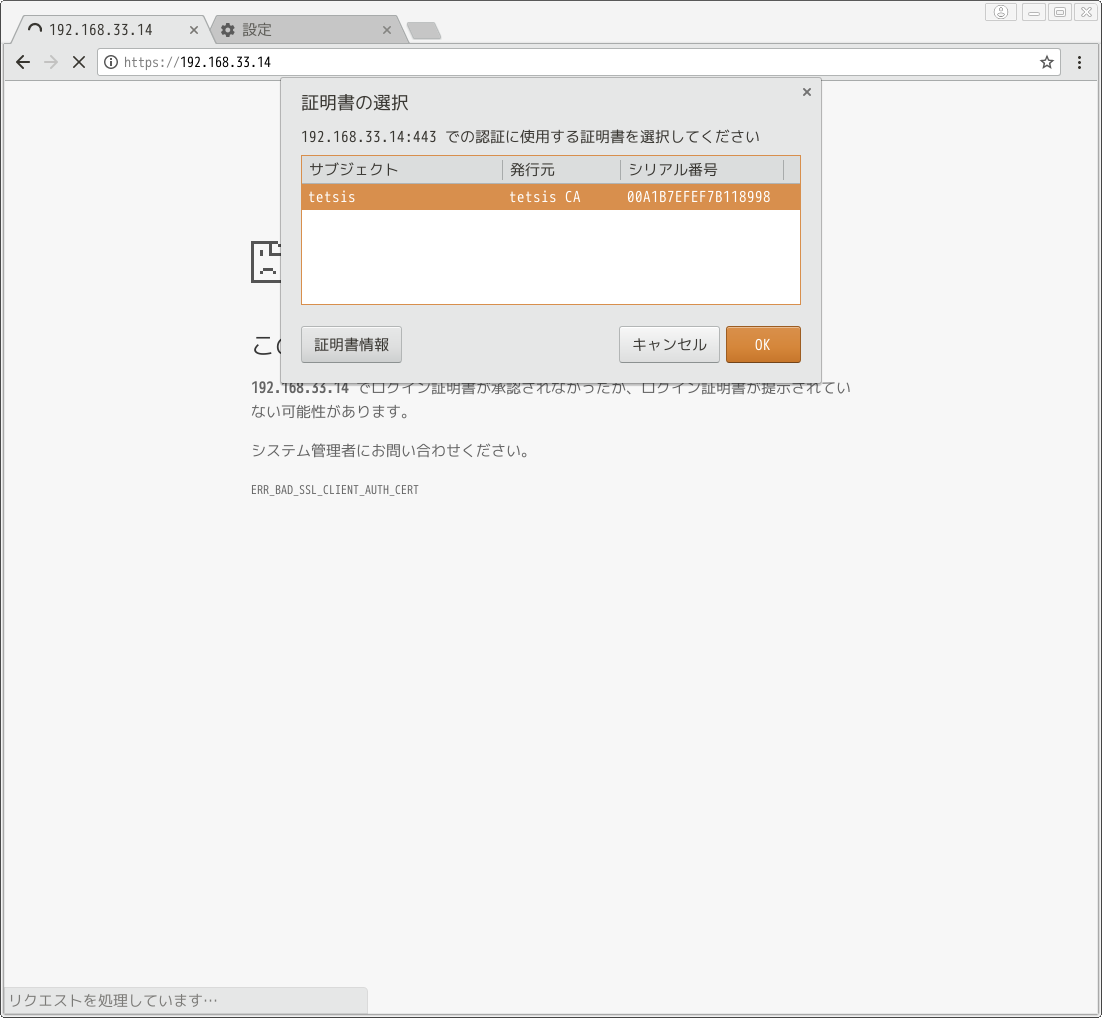
Google CromeではIPアドレスでアクセスした場合SAN(Subject Alternative Name)を設定していないと”ERR_CERT_COMMON_NAME_INVALID”エラーが出てしまう。 (IPアドレスが原因かは不明。DNS名持っててもSAN設定しないといけないかも)
cd /etc/pki
mkdir tetsis-server
cp tetsisCA/openssl.cnf tetsis-server/
設定ファイル編集
vim tetsis-server/openssl.cnf
req_extensions = v3_req # The extensions to add to a certificate request  # コメントアウト解除
(中略)
[ v3_req ]

subjectAltName = @alt_names
(中略)
# 末尾に追加
[alt_names]
IP.1 = 192.168.33.14  # サーバのアドレス
秘密鍵とCSR作成
# cd /etc/pki/tetsis-server
# openssl req -config openssl.cnf -new -days 3650 -keyout server.key -out server.csr

writing new private key to 'server.key'
Enter PEM pass phrase:  # 秘密鍵のパスフレーズ入力
Verifying - Enter PEM pass phrase:  # 秘密鍵のパスフレーズ入力

Country Name (2 letter code) [JP]:
State or Province Name (full name) [Tokyo]:
Locality Name (eg, city) [Shinagawa-ku]:
Organization Name (eg, company) [tetsis company]:
Organizational Unit Name (eg, section) []:
Common Name (eg, your name or your server's hostname) []:192.168.33.15
Email Address []:

Please enter the following 'extra' attributes
to be sent with your certificate request
A challenge password []:
An optional company name []:
秘密鍵のパスフレーズ削除
# openssl rsa -in server.key -out server.key
Enter pass phrase for server.key:  # 秘密鍵のパスフレーズ入力
writing RSA key
WSGIScriptAlias / /home/www-data/(gitリポジトリ名)/(Djangoプロジェクト名)/wsgi.py
WSGIPythonPath /home/www-data/(gitリポジトリ名)
Alias /static/ /var/www/static/

<Directory /home/www-data/(gitリポジトリ名)/(Djangoプロジェクト名)>
<Files wsgi.py>
Require all granted
</Files>
</Directory>
<Directory /var/www/static>
Order deny,allow
Allow from all
</Directory>
conn = psycopg2.connect("host=127.0.0.1 port=5432 dbname=dbname user=dbuser password=password")
dict_cur = conn.cursor()
dict_cur.execute("CREATE TABLE table (id serial PRIMARY KEY, name varchar(23), password varchar(255))")
conn.commit()
dict_cur.close()
conn.close()
SELECT文
conn = psycopg2.connect("host=127.0.0.1 port=5432 dbname=dbname user=user password=password")
dict_cur = conn.cursor(cursor_factory=psycopg2.extras.DictCursor)
dict_cur.execute("select name from table where (name)=(%s)", (name,))
for row in dict_cur:
if row['name'] == name:
flag = True
break
dict_cur.close()
conn.close()